Alyssa Cardin is back with two fun and easy summer projects, Popsicle Holders and Seashell Bags. Take it away Alyssa!
Before we begin with the popsicle holders I wanted to take a minute to show you the difference of the popsicle holders you get with Craft Chameleon vs. the ones you might find elsewhere. The ones from Craft Chameleon are much better quality and will fit a wider and longer pop.

The blanks you will need from Craft Chameleon are the Popsicle Holders which come in an array of colors and styles and the Seashell Bags. These bags come in pink, aqua blue, navy and lime green.

Okay - let's Begin. I made two designs for the Popsicle holders. One to resemble a crayon and one to resemble a reptile like animal, so when you put the popsicle in place it looks like a tongue. Craft Chameleon also sends designs that can be downloaded and used with the popsicle holders.

Decide on the design you want to use and either bring it into your design program or design it there from Scratch. Size your design to fit the popsicle holder, remember there is an edge so you want the design to fit in the flat section.

Reverse your design and cut using HTV.

If your design has multiple colors you will need to cut each color separately and then layer when pressing.

Weed your vinyl. Place the vinyl on the popsicle holder, if multiple colors you will press one color at a time with the bottom layer being first.
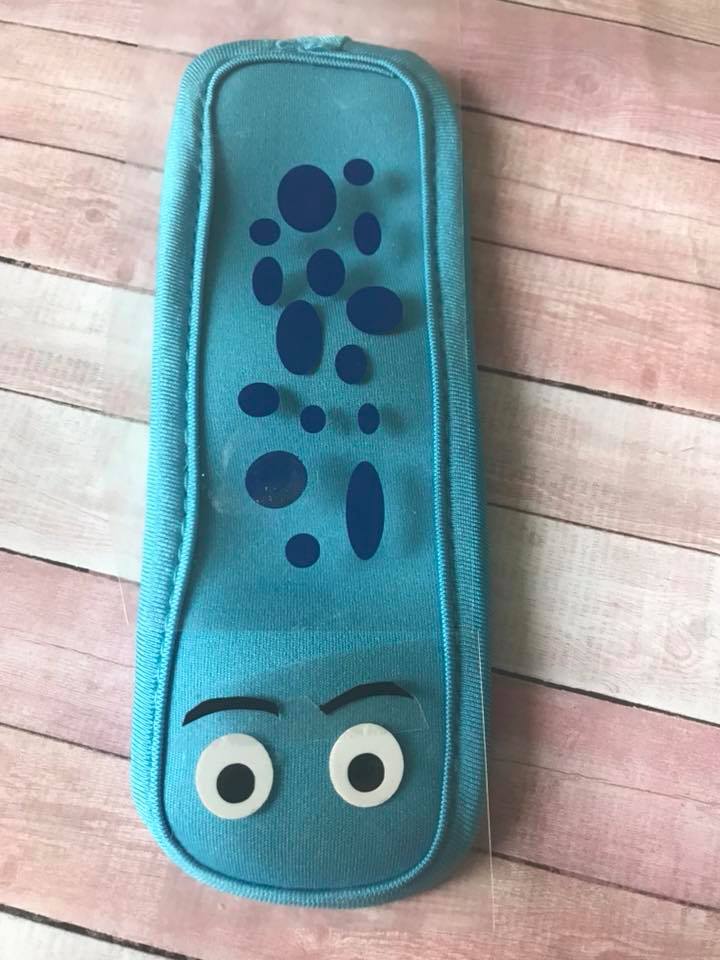
Make sure to fold the vinyl under the edge before pressing if the vinyl overlaps. Press according to the vinyl's instructions.

Now you have yourself a fun popsicle holder, and maybe a slightly less messy kid!

The seashell Bag is just as easy, and everyone loves these - kids and adults!

The most difficult part of the seashell bag is paying attention to the size and pressing without the sides of the handles in the way.
Decide on the design for this project. I recommend not making it longer than 10 inches in length and 2.5 inches in width.

Size the design and mirror horizontally since we will be using HTV.

Cut the design and weed HTV.

Pressing the vinyl is the tricky part if the vinyl is close to the edge. A few tips - a mini iron, hair straightner, or a hand iron might give better control for pressing this item. If using a heatpress, angle the bag on the press so the strap next to the design is off the press or place a teflon sheet, or a tshirt folded inside the bag to raise the area that will be pressed. This will allow the pressure to be applied to the design without being blocked by the handle.


Press for the recommended amount of time and temperature. Remove HTV masking. In no time at all you have created a wonderful seashell bag. This bag is also useful for collecting rocks, putting small sand toys in, and for carrying sandy shoes.

Have a Happy Summer!
PS Please remember to pin or share our blog post!