Friday, January 22, 2016

Bling Your Ring

It's Fri-Yay and I can NOT contain my excitement about what I am sharing with you today! I am horrible about keeping secrets, have wanted to spill the beans on these babies for quiet some time but I finally get to share them with you today so get ready to Bling Your Ring! The rings are here and they are awe-some!


Yes they took a minute to get in but that's because Jamie and the crew at Punch Place Plus are seriously amazing about quality control and have high standards for the products they're selling. Which is a great thing and often hard to come by these days. This means that every time you make a purchase with them, you can do so knowing you are getting NOTHING but the best!

The rings will come in a "DIY Kit". You will receive five rings in your choice of finish as well as five acrylics in your choice of color.
*If you choose Gold Tone Rings and Gold Mirror Acrylics, you'll receive five gold tone rings and five gold mirror acrylics.*

Left to right: Sterling Silver Plate, Hypo-Allergenic, Gold Tone

*Note the difference in color of the Silver Plate and Hypo-Allergenic*


The rings are also adjustable! I know, right?!
The rings can be sized from a size six to a size ten.


You will simply wrap the ring around the sizer and adjust the loose piece around the inside of the stationary piece to fit your desired size.


Yes, you'll also be able to purchase the ring mandrel as well as the sizing ring.
The sizer is to make sure your ring stays round when you're adjusting the size and the sizing ring makes sure that you and your customers get the right size.


Once you have it adjusted to the desired size, you can glue it in place or leave it to be adjustable again, and again.


I love that they have the bezel setting so the acrylic sits slightly in the ring and doesn't pose a hazard of catching on something or falling out. (Please see pics of how the mirror acrylics sit differently from the colored acrylics.)
To create and bling your ring, you're going to need the following items:

You're going to want to apply your vinyl on your acrylic blank first because when you apply your blank it may shift a little and won't be straight if applied afterwards. Also it will be hard to get the vinyl onto the acrylic with the bezel setting on the mirrored acrylics (*see below for examples).
Tip: You can place a small piece of clear scotch tape over the top of your acrylic that has the vinyl on it so you don't get any glue on it-just make sure you wait 24 hours for the vinyl to cure before doing so.
Once your vinyl is applied you're going to apply the E6000 to the backside of our acrylic.
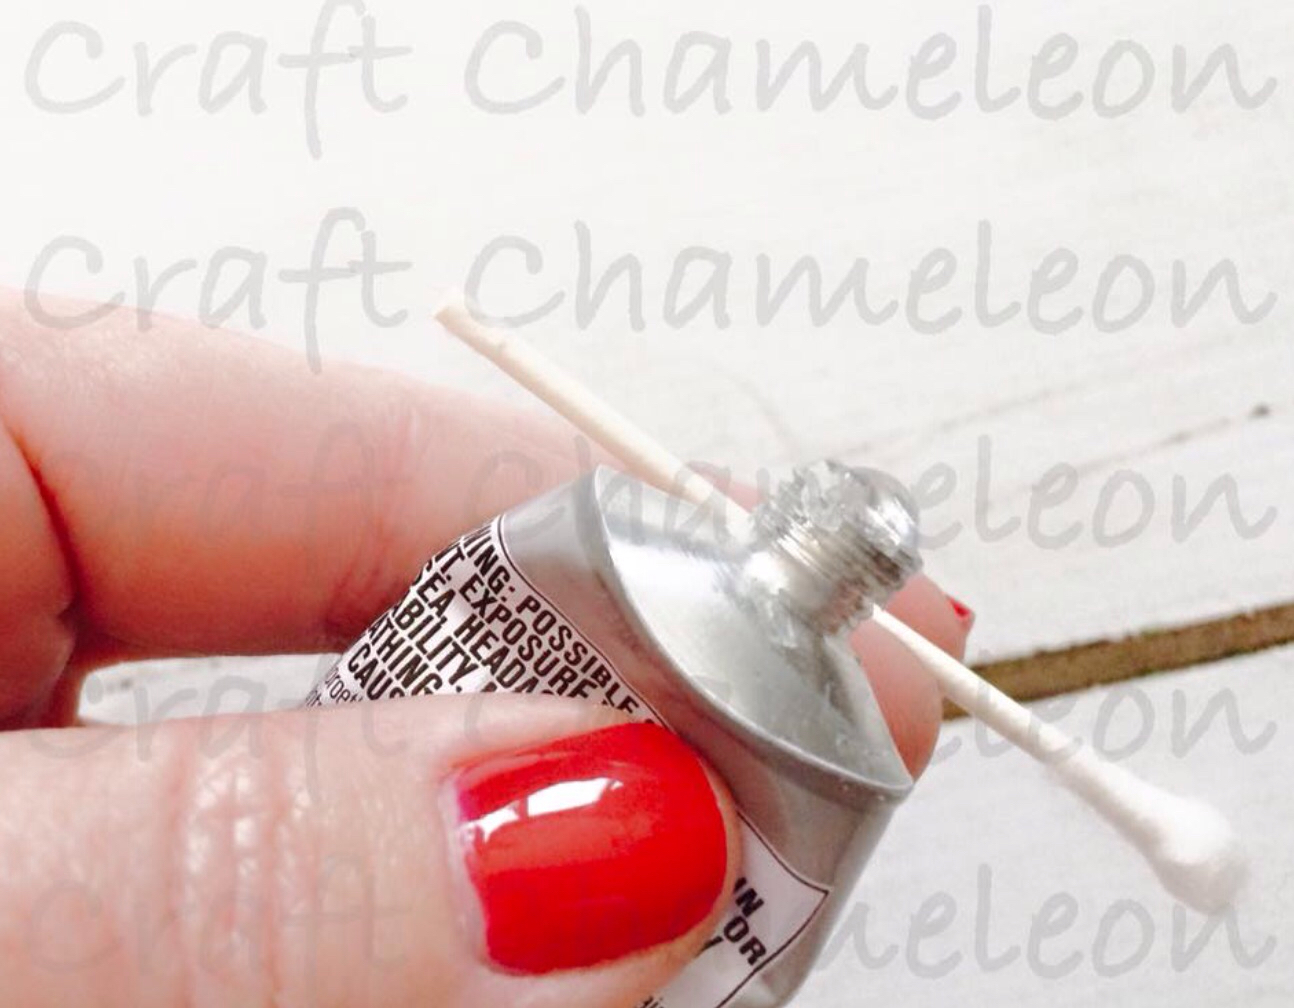

Please use it sparingly or it will ooze out the sides and onto the front of your acrylic.


Once you have a little E6000 place it all around the back side of your acrylic.


Now you can place the acrylic into the ring base.


Once the acrylic is in the ring base gently push down on the acrylic and the ring by placing your finger through the ring and your thumb on top of the acrylic.


Wiggle the acrylic in the setting a little and then make sure the acrylic is straight.
Allow to dry for 24 hours.


These next pictures are showing you the difference in how the mirrored acrylics sit in the bezel compared to the colored acrylic.


The acrylic discs measure 5/8" and are the perfect size to add monograms, a single initial, characters, team logos/mascots and more without being to small or to large.
I have seen these rings all over the Internet (go ahead, search for yourself I'll wait), they sell for well over $50+!
I know I was just as shocked but the good thing is, is that now we can create our own, have one in every style and color; pay less and still charge what they charge;)

Leave me a comment telling me what the first thing you'll create with your new Bling Your Ring Kit(s)?


Tuesday, January 19, 2016

Suede Fabric Weaved Chain Link Bracelet

I'm so excited to share a couple of items from Punch Place Plus today that you can use to create some fun, unique items.


Today we're going to make a suede fabric weaved chain link bracelet using "mainly" two items from Punch Place Plus.

The items you'll need are:


These were really easy to make and make such a fun gift, accessory or item to add to your shop!

This is a casual but elegant faux suede fabric that coordinates with the Punch Place Plus faux suede headbands". -but it has so many more uses!

The Suede Fabric comes in 28 different colors and you get one yard of 62"+ width pre-packaged suede fabric.

Take your Suede Fabric, unfold it, refill it making sure your seams line up nicely; fold it again so you can make a nice one inch cut. (This ensures you'll get a longer, straighter cut without having a longer piece of fabric.)


Once you've got your Suede Fabric cut, take the end and turn the corner it in at angle. (This will make it easier to weave through your Chain Link Bracelet.)

You're going to start weaving the suede fabric loosely, in and out of every-other link on the bracelet.
Make sure you leave a piece at the start of your bracelet at least one to two inches (so you can tie it later as well as adjust the Suede Fabric).
Continue weaving the Suede Fabric through every-other link until you reach the end.
Before tying the ends, adjust the fabric as loose or as tight as you want them on the links.
I wanted mine loose so I loosened them up a bit.
You're now going to tie the end around the last link you've just threaded. Simply pull the suede fabric out a little and tuck the end through the circle to tie the knot and clip the ends of the Suede Fabric.
Make sure you pull hard to secure the end of your bracelet.
Showing a loose knot.
Both ends tied and ready to be decorated!
I added a White 2.25" Tassel and 1" Clear Heart (on opposite sides).
I absolutely love that the suede fabric frays and leaves your bracelet looking a little "worn".
These would look adorable with more then one acrylic charm (blank) too!
 
What blank(s) would you apply to your suede fabric weaved chain link bracelet?


Thursday, January 14, 2016

Be Brave

Be Brave

Punch Place Plus (Craft Chameleon) sells a lot of amazing products and today I want to share with you one that has quickly become one of my favorites, the Arrowhead.


The Native American Indians are deeply spiritual and they communicate their history, thoughts, ideas and dreams from generation to generation through symbols and signs. 

The Arrowhead is a sign of protection, courage and strength so I decided to keep the design on this one simple and let the meaning and Arrowhead do all the talking.

They acrylic Arrowheads that Punch Place Plus sells have a gold mirror finish, two holes on each end that can be used as bracelets or necklace's. The mirror finish makes them look really clean, classy and expensive.
I made a few examples to show you how versatile these pieces can be. 

I left the message the same on each piece because this is a gift for a sweet friend who is battling breast cancer right now and I thought the sentiment fit perfectly for her to be Brave.


The first is a wire wrapped bracelet. I wrapped the wire through one hole on the  Arrowhead leaving about an inch poking through the hole (enough to wrap around it three to four times) and then wrapped the rest of the wire around my wrist (you could use a cup if it is to hard to keep it all together) until I got to the end of the wire. I then looped it through the second hole and wrapped the wire around all the wire three to four times and repeated that on the other side.

(Shown with frosted glass vinyl)

I also made two necklaces. I made one sideways for a more updated look and also so the Arrowhead was by her heart.

(Shown in gold vinyl)

The second necklace I did horizontally. 


I also used two different types of vinyl on them. One is frosted glass vinyl and the other gold.

Aren't these amazing? 
p.s. these are so hard to photograph and show you just how amazing they are!

I love the significance and meaning of the arrowhead as well as the new trend that has them popping up all over!


Monday, January 11, 2016

Splitsville

Today we are going to splitsville (nope, we can't skip out on Monday!). Splitsville you say? Yep, I am going to show you how to split a letter.

It looks like it would be super intimidating but it isn't (honest!).

First you're going to decide on your font, I chose to use Times New Roman.

Type out your letter, size it to the desired size (once split it will be larger).


Now center it to the page.

 
Over to the left select your rectangle tool.


Draw a rectangle as long and as wide as you'd like your "split" to be, then select them both and center it.
 
 
While you still have both the rectangle and letter selected go over to the right, under modify (the square with a "M" in the right hand corner) and select subtract.


Your letter will now look like this. It won't look right but don't worry, it will be!


We are going to draw another box and turn it into a rectangle.

Once you've created it the size you like, duplicate it so you have two and align the two rectangles to each piece of your letter.


Now you're going to slightly overlap the rectangle over the top part of the A. While the rectangle is still selected, hold the shift key and select the top part of the A, right click and select weld.
 
 
This has now made the top part of your A and the rectangle one piece.
 
 
You're going to do the exact same thing for the bottom half of your letter.
 
 
You can fill it with color and see your handy work!
 
Whoop, whoop! You can now add your name, names, saying etc.
 
 
What do you think, was splitsville easy enough or what?
 
What are you going to split first?


Thursday, January 7, 2016

Rule Breaker, Heart Breaker

Be a rule breaker, heart breaker with all of these fun, colorful Acrylic Hearts that Punch Place Plus (Craft Chameleon) offers!

You'll definitely be a rule breaker with all the designs and a heart breaker when they receive them!

Punch Place Plus (Craft Chameleon) offers three sizes of Heart Acrylics, 3 inch, 2 inch and 1 inch and in your choice of twelve colors (see website for sizes/colors-as certain sizes only come in certain colors):

  • clear
  • glitter white
  • red
  • glitter red
  • Persian pink
  • hot pink
  • glitter hot pink
  • beauty pink
  • glitter pale salmon
  • mirror silver
  • mirror gold
  • black

Punch Place Plus's colored acrylics are bright, vivid and the glitter is amazingly sparkly (but not to sparkly;). The glitter is encased into the acrylic so they're smooth to the touch.

*Please note that the back side of the glitter acrylics are white or a lighter shade of the original color.

I used black vinyl in a chevron pattern for the 3" red heart with a 2.25" black tassel.

I think these would be perfect for the men and boys in your life too!

You could make a whole set for sister(s), mom too!
(2 inch, Hot pink glitter with 2.25" grey tassel)
For the 1 inch clear, I wanted to make it look like it was carved into a piece of wood but by the time I added the brown and black to the back side, it didn't resemble a tree so I decided to keep it on the clear as is and added a 1.5" beige tassel.
 

The 1 inch and 2 inch would be really cute added to the Adjustable Bangles or even on the Silver Chain Link Bracelets.

Punch Place Plus (Craft Chameleon) also offers a licensed 3 inch Stethoscope Heart, in clear, red glitter, white glitter, black glitter, hot pink glitter and solid hot pink.


I have to say that coming up with ideas for these gorgeous hearts wasn't the problem, having enough Blank Acrylic Hearts was!

Be a rule breaker, heart breaker and not just for Valentines Day but all year long with these great hearts!


Tuesday, January 5, 2016

Perfect Pairs

Now that the holidays are over and everyone is settling back into their routines, we have brought you the Perfect Pairs!

Six Perfect Pairs to be exact!

You can choose from:

Bacon and Eggs

Fire and Marshmallow

Milk and Cookie

Peanut Butter and Jelly

Popcorn and Movie

Salt and Pepper


Each Perfect Pairs set comes with:

  • 5 clear ampersands
  • 5 pairs (10 pcs) of "Perfect Pairs" acrylic earring blanks
  • 10 silver tone/hypoallergenic earwires
  • 5 silver plate 24 inch long snake link necklaces
  • 5 oval jump rings
  • 5 pcs 2 x 2 inch ziploc bags (for gift giving;)

You just need to add vinyl, paper or paint!

Perfect Pairs don't need to be used just for Valentine's Day, they could also be just the perfect, fun gifts for BFF's, teachers, nurses, co-workers, family and more!

I am definitely going to be picking up a few sets for my niece, my sister and I as well as to have in hand for gifts!